MAKING OF - FROM HELL / HOLY WAR
INTRODUCTION
It’s been a couple of years since I last made an animated music video; they take a lot more time to create than I can usually afford as a side project, especially when the average song length is 3 to 4 minutes long. I was sent the From Hell album "Heresy" by Paper + Plastick and thought their short aggressive song format might be interesting to work with (it was) and also hoped I could keep production time sensible (I couldn’t).
After a few brief emails between the band and label I was given total freedom with the project and decided to try out a few new techniques that had been on my mind. I’d recently started to use Octane for C4D and decided to put it through its paces on a full project with the luxury of not having any client issues.
The song we chose to use was ‘Holy War’, the starting point visually was simply Satanism and the occult to sit comfortably amongst their previous artwork. I wanted to focus on the use of animals in these subjects to create a dark aggressive mood while avoiding gore or representation of deities; working in a stylised manner but rendering with the physical feel of Octane would hopefully keep things within a believable world.
3D COAT SCULPTING
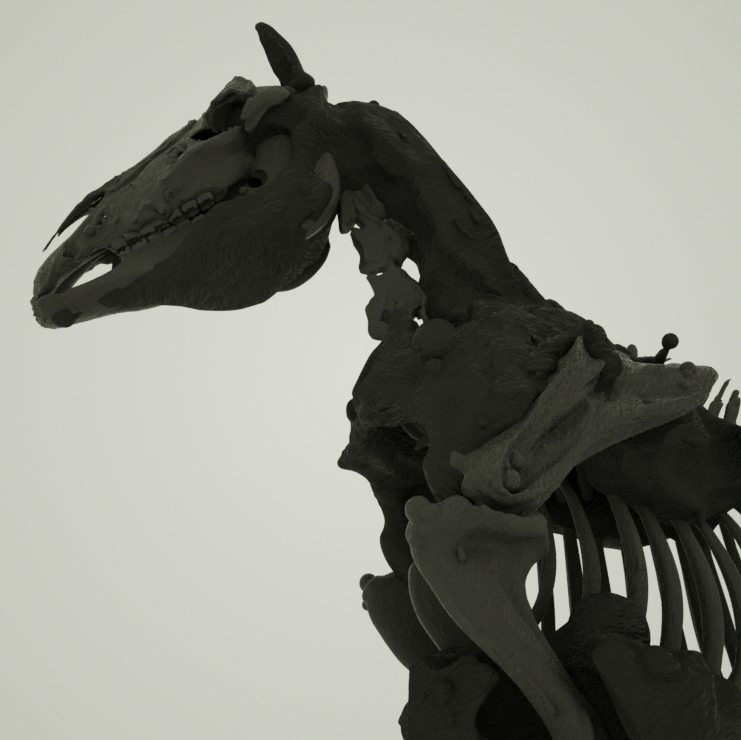
I always love working with the voxel sculpting of 3D Coat. I recently got a Cintiq 22HD which makes the workflow even more intuitive and fun. I started with a variety of skull and animal base meshes before reshaping and detailing each element. Because Octane doesn’t support displacement maps I wanted a lot of detail in the geometry, and I knew I could deform them easily and fairly accurately with C4D’s tools. Voxels are great for this because mesh resolution isn’t bound to any kind of original topology, adding large amounts or cutting away volume, or adding smaller details isn’t an issue. It allows total freedom without technical restraints.
RIGGING
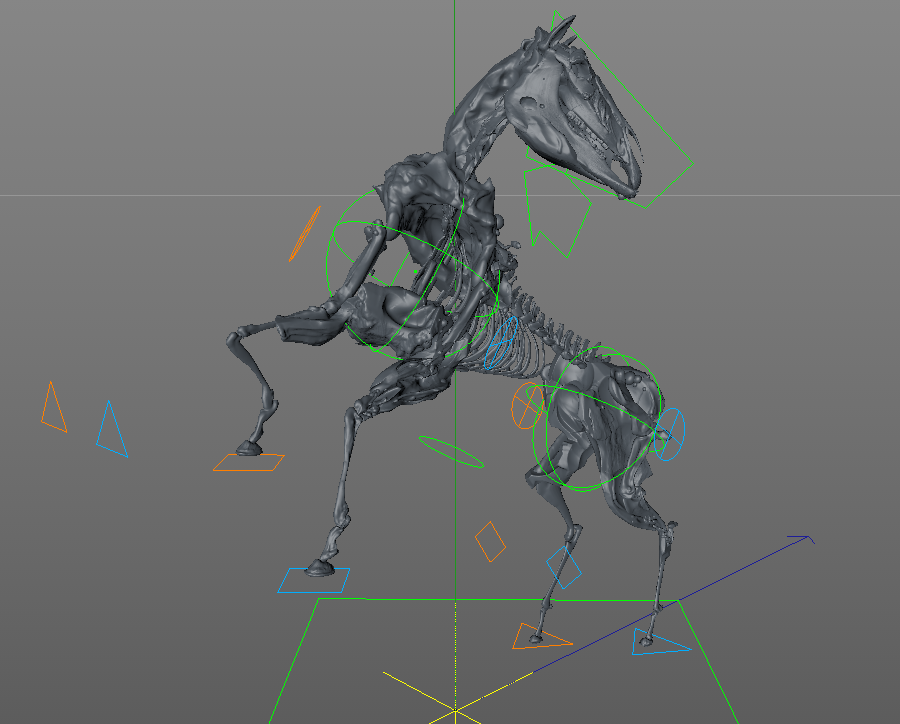
For the first and probably last time in my life, the manifesto here was quantity over quality. With around 12 animals to rig, I mainly re-purposed existing rigs and took advantage of C4D’s fast auto weighting. By using modified versions of the low res base meshes I rigged everything with as little tweaking as I could get away with then simply used the mesh deformer to drive the high res geometry.
ANIMATION
For the animal motion I used reference footage extensively; by using a movie as the background in one panel of my viewport I was able to eyeball rough poses every few frames and add manual inbetweens or refined F-Curves a little where necessary. Almost all of the keyframe animation was completed within one week (on a laptop!). Because I was animating using the low poly cage meshes I was able to get real time feedback in my scenes. This was vital for checking movement felt natural without constantly rendering previews.
CG STOP MOTION
Recently I have been experimenting with a few techniques for frame by frame ‘stop motion’ animation in 3D. As they are developed and utilised I will undoubtedly discuss them all in future; this was my first attempt which basically starts and ends in 3D Coat except for the sequencing & rendering.
This is a very crude experimental technique, essentially duplicating a sculpt with slight modification each step; ensuring every part of the mesh is changed slightly every frame, bulging areas, moving surfaces, growing elements. Everything is exported as one OBJ with multiple objects which is then sequenced using a Python script in C4D. The workflow is almost ‘blind’: hardly any planning happens before sculpting each frame and there is little opportunity to go back and add inbetweens. As I mentioned, this is only one method I am currently developing but it does have a certain DIY charm to it, even if it can’t be controlled too well at this point.
NOTES ON RENDERING
I was seriously impressed overall with Octane and the quality I was able to achieve at home with it. I never had to worry about GI flicker or if a shot would take more than a few hours to complete. I rendered all shots on a single Mac Pro within a week or so (read my Octane blog for the machine spec including Nvidia cards).
Initial render tests
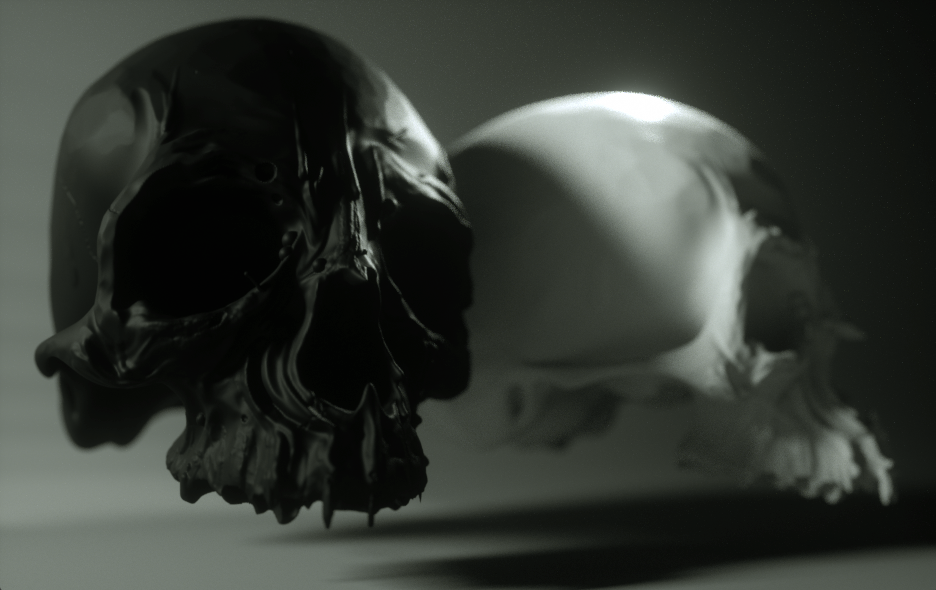
This was admittedly a slightly strange project to prove the speed of Octane; a lot of frames took only seconds to actually render but almost all scenes took a long time per frame to ‘prepare’ and ’export’ due to the heavy mesh deformations. Of course the aesthetic of this particular project allowed a lot of leeway with noise and quality of exposure etc so it was also a nice opportunity to ease Octane into production. I look forward to learning more about the material system and tackling something a little more refined soon.
Normal maps add great depth and detail in Octane...
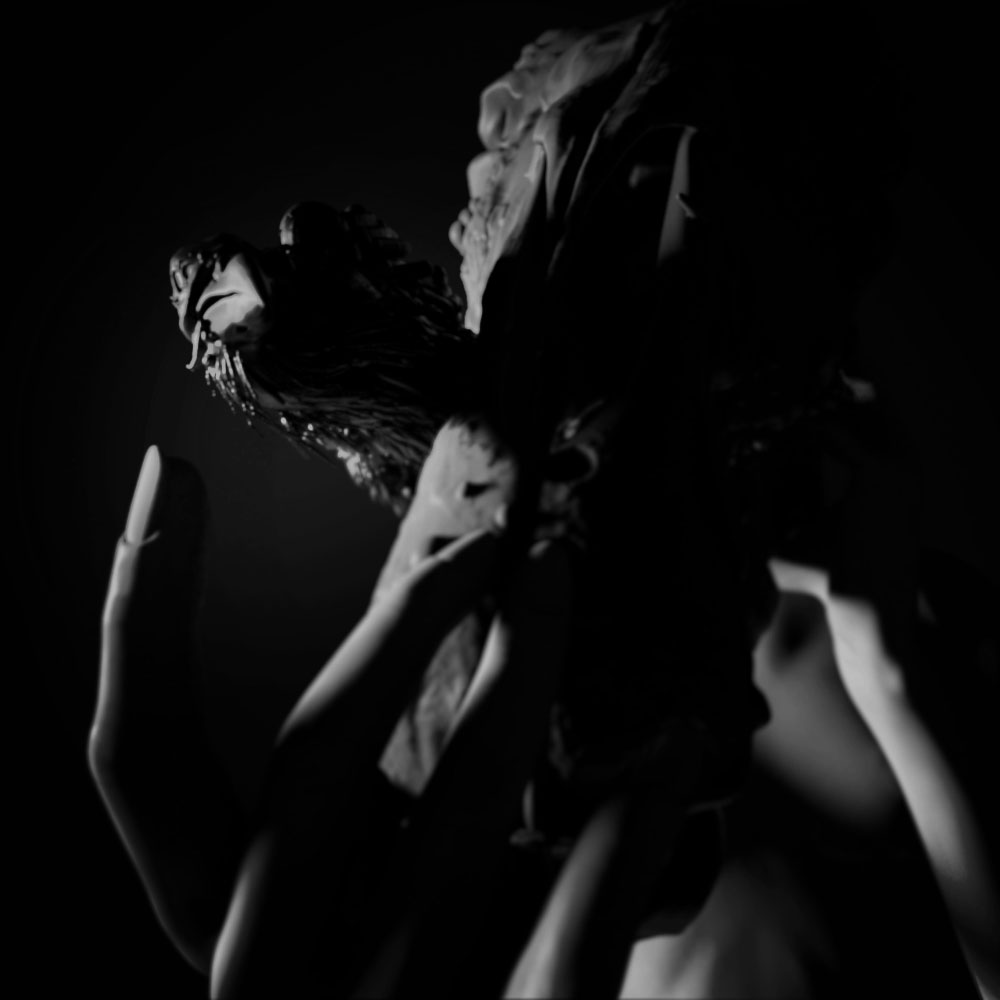
For the human figure I used C4D's sculpting tools then 3D Coat to paint the texture maps. I then experimented with Octane's Mix Material to blend SSS and Glossy materials to create the skin shader. This was actually the first human I've worked on, knowing the animation for her would be very limited I concentrated mainly on the look; though I still worked through the process very quickly without too much refinement.
THOUGHTS ON XREFS
If you read my recent ‘Scene Speed’ article you might be surprised to find out that I used Xrefs throughout this project. Each high res sculpt weighed in between 100-500MB so I didn’t want to keep distributing that kind of file size between 100+ files. Generally they were stable, I mainly had problems with materials (it is very possible Octane was the root of this) but also some more serious issues relating to rigged meshes.
It was not uncommon to lose poses and animations due to a skin deformer bug where I could see the joints in the correct place but they would no longer deform the geometry. I was usually able to remedy this by creating a new Xref with the same reference file and use a Posemorph tag to copy the posed/animated joint hierarchy to the clean version.
I still can’t really recommend Xrefs for projects with less tolerant schedules. If file size wasn’t an issue then I would have lost a lot less time by simply copying elements into new files knowing that when I reopened the file everything would definitely be where I left it.
